After getting things ready for making jewelry it's helpful to keep your workflow simple. And remember to take pictures after each step since you only have one chance to immortalize these steps now. ( I forgot to take pictures of the actual soldering and hammering process)
- Cut and shape the part for the jewelry piece
- Fit the parts together before soldering
- Make necessary modifications to the parts
- Solder smaller parts together to for medium sized parts
- You can do the decided finish to the medium parts at this point (so you don't have to try to finish the whole huge final piece)
- Do needed modifications / fixing before soldering the medium sized parts together
- Come up with creative ways to keep the medium parts together for soldering
- Dry fit gemstones
- Make final modifications to the shape before cleaning and polishing
Creating all the pieces - The great puzzle maker
So I began making my process by cutting and fitting the parts together
Then I proceeded to make the necessary modifications to the small parts, set them ready for soldering
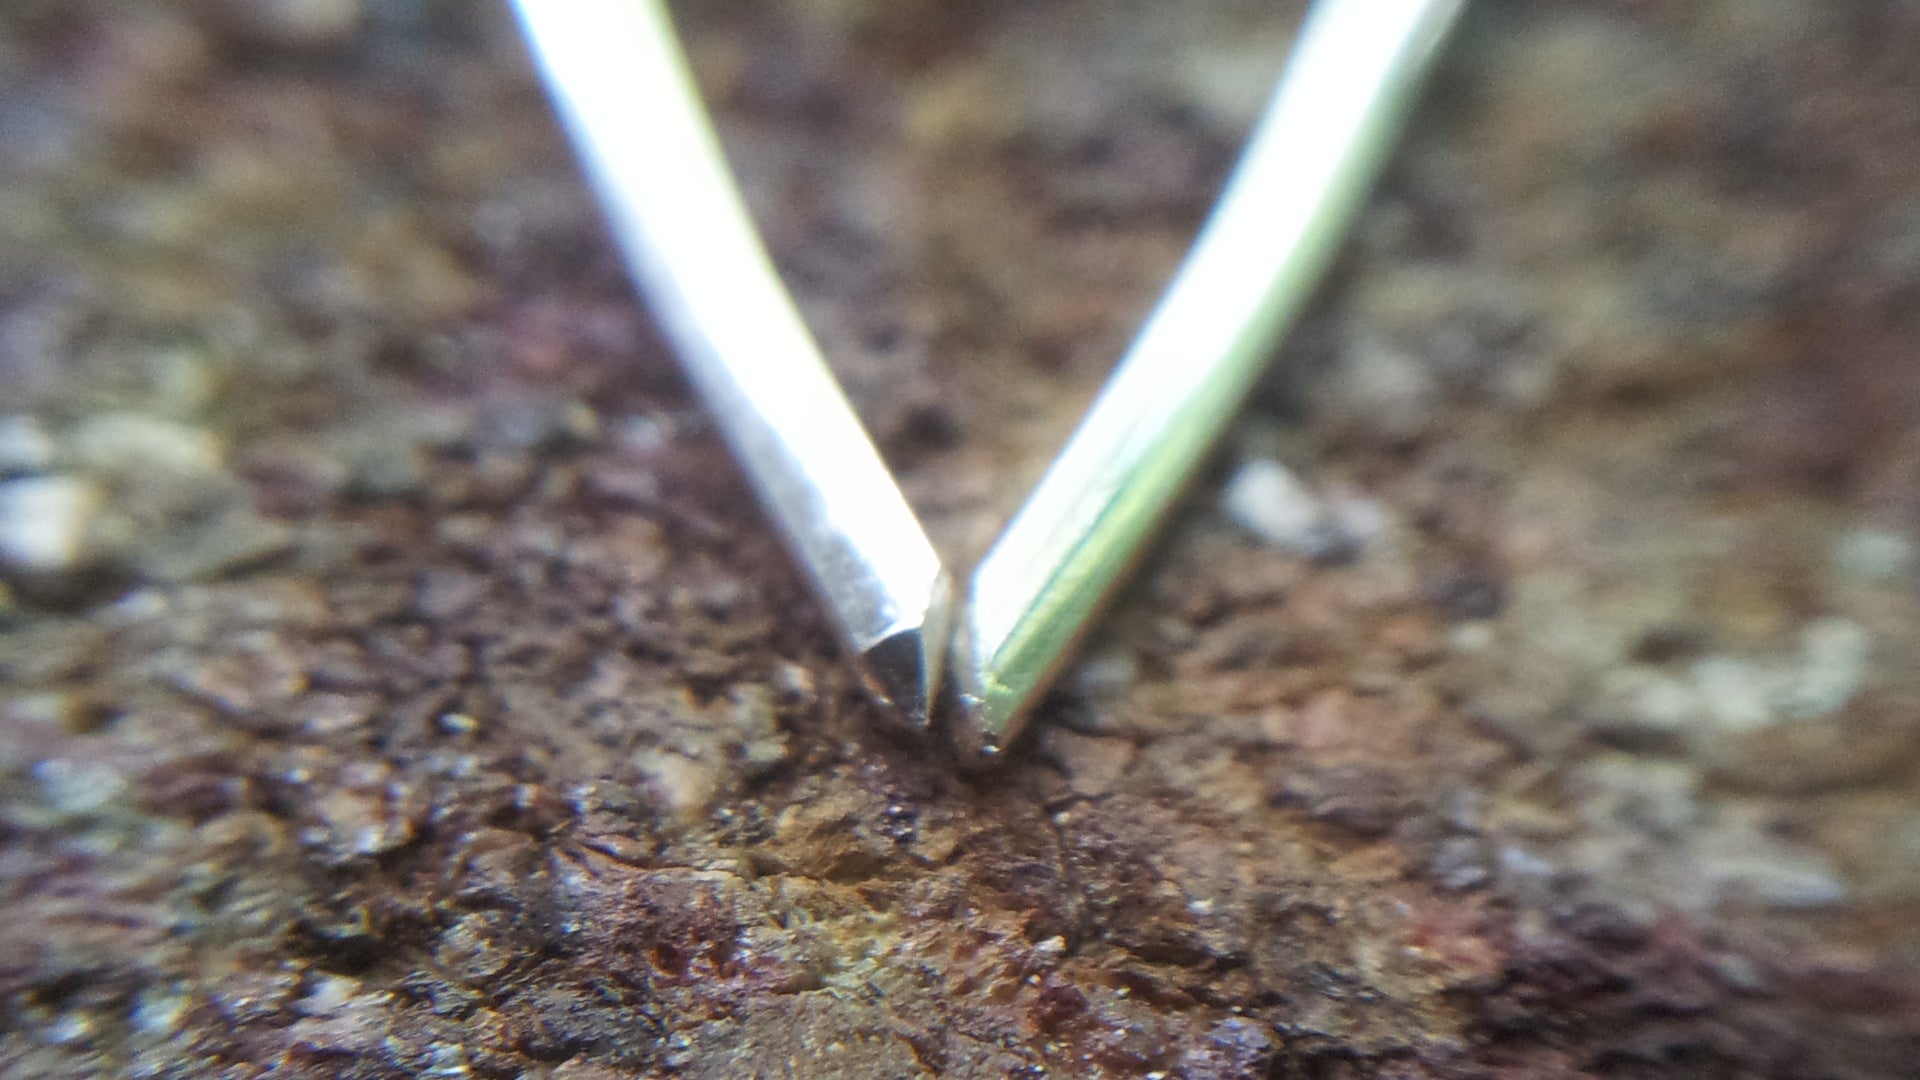
After that I added the solder (paste this time) carefully so the parts wouldn't move at all.
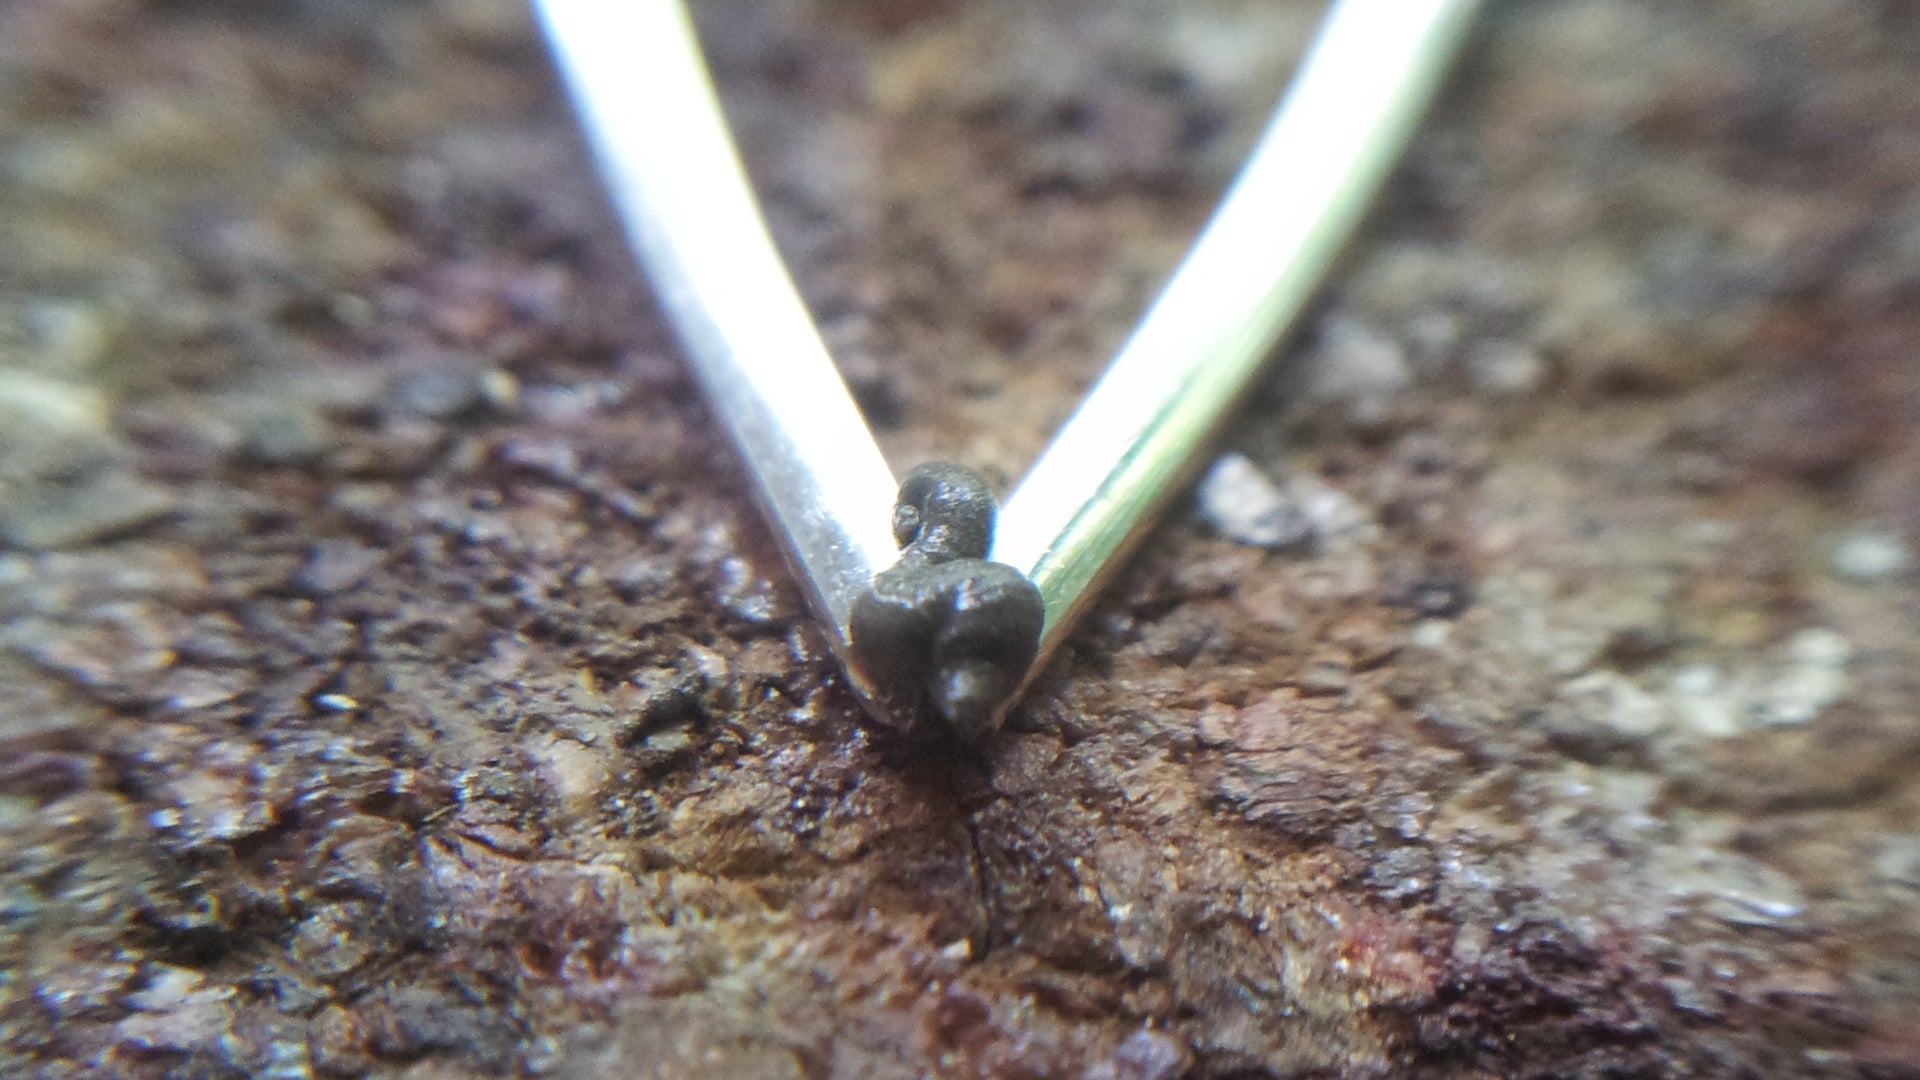
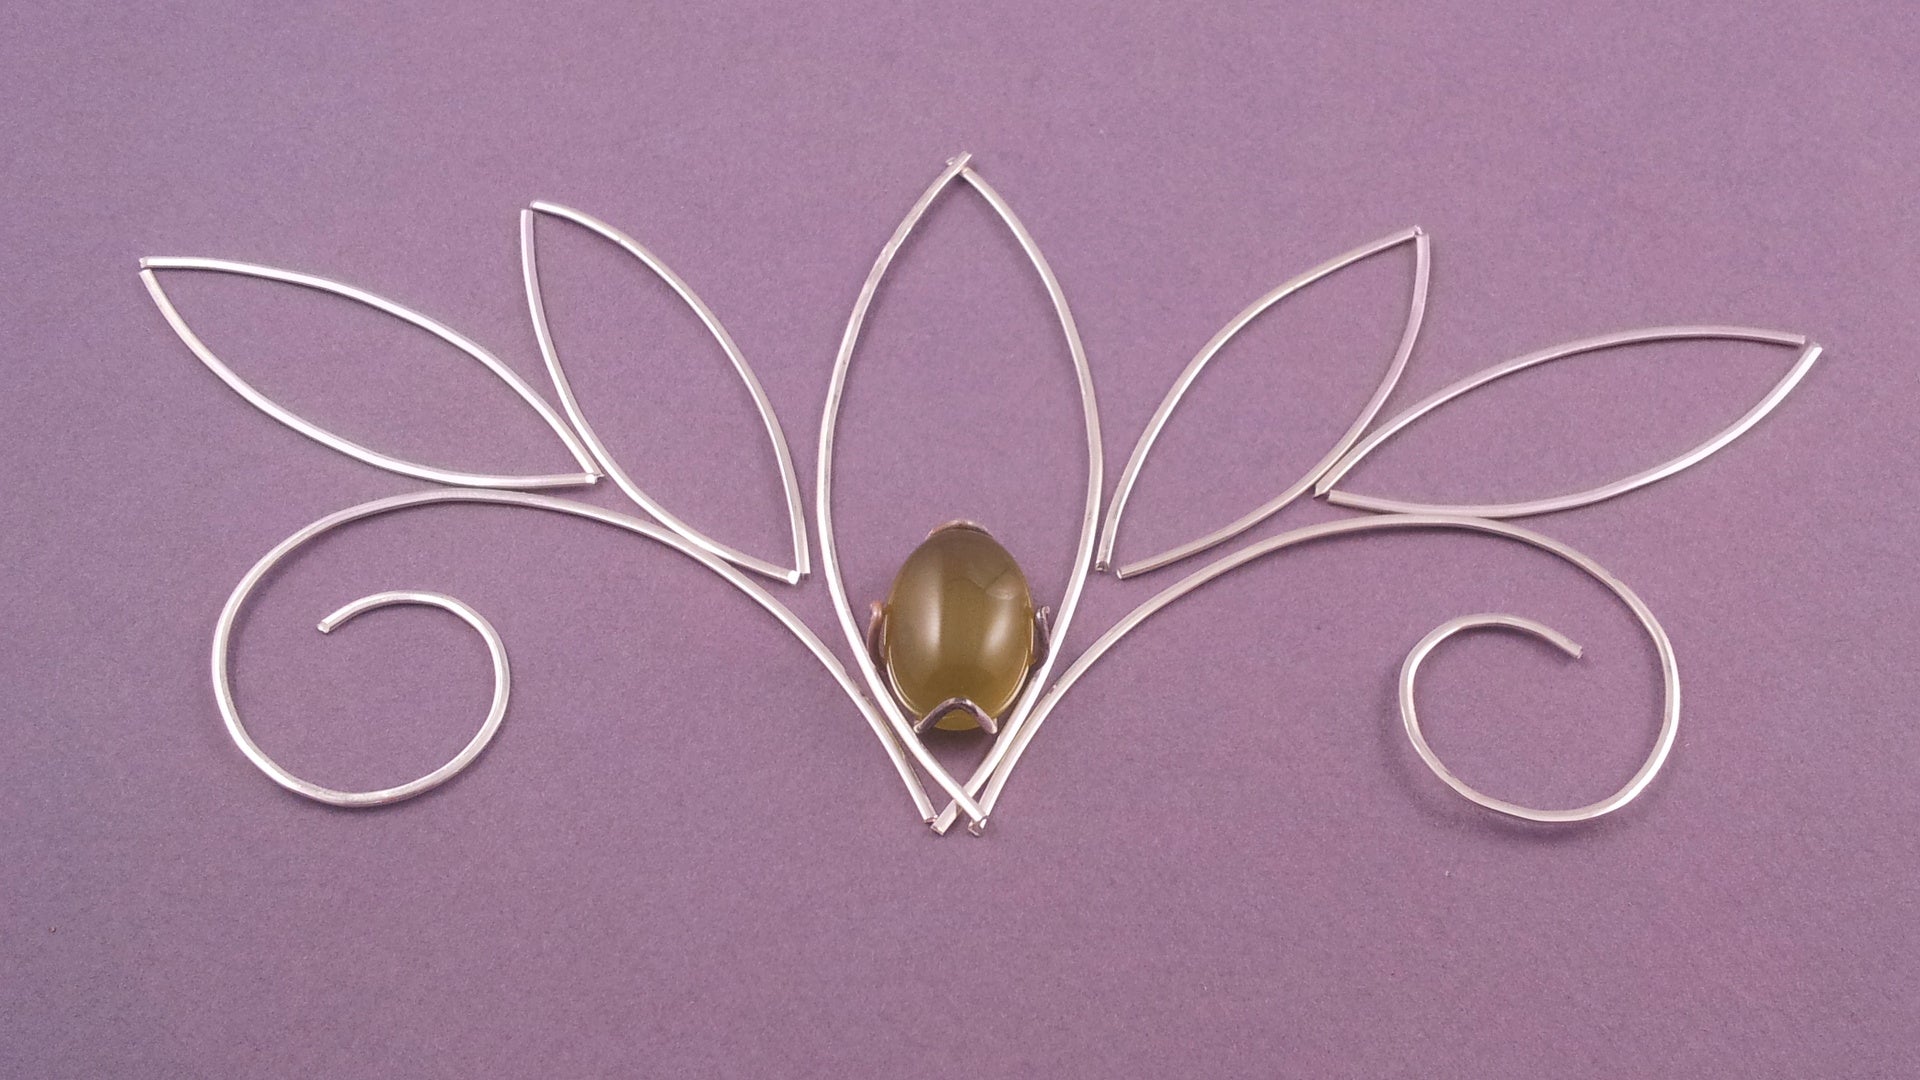
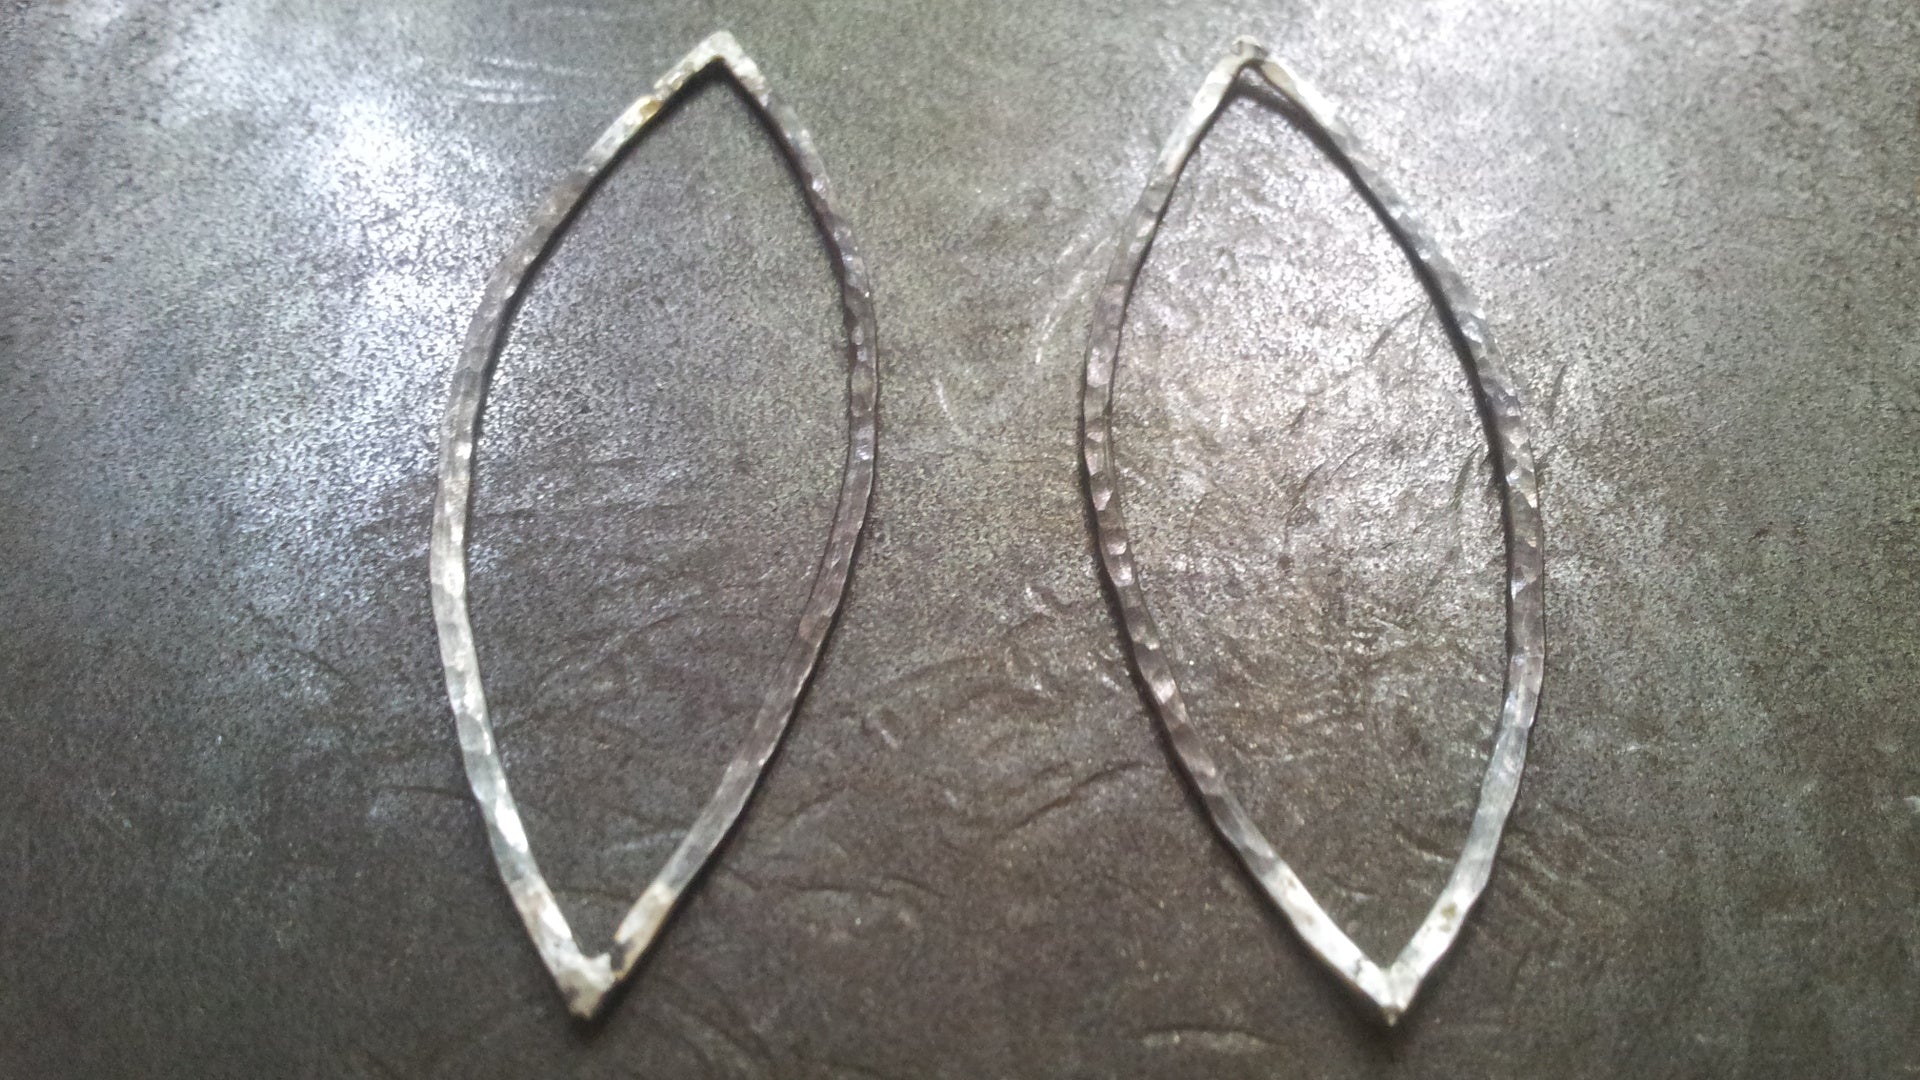
And finally I soldered the small parts together: Slowly heating the parts so the solder didn't dry too fast (fast drying leads to violent reaction that easily moves the parts away from each other). As you can see the final product doesn't have any gaps and is close enough to the original shape I set the parts to.

Refining the pieces - The hammer time
I continued to take the assemble medium parts to a flat anvil
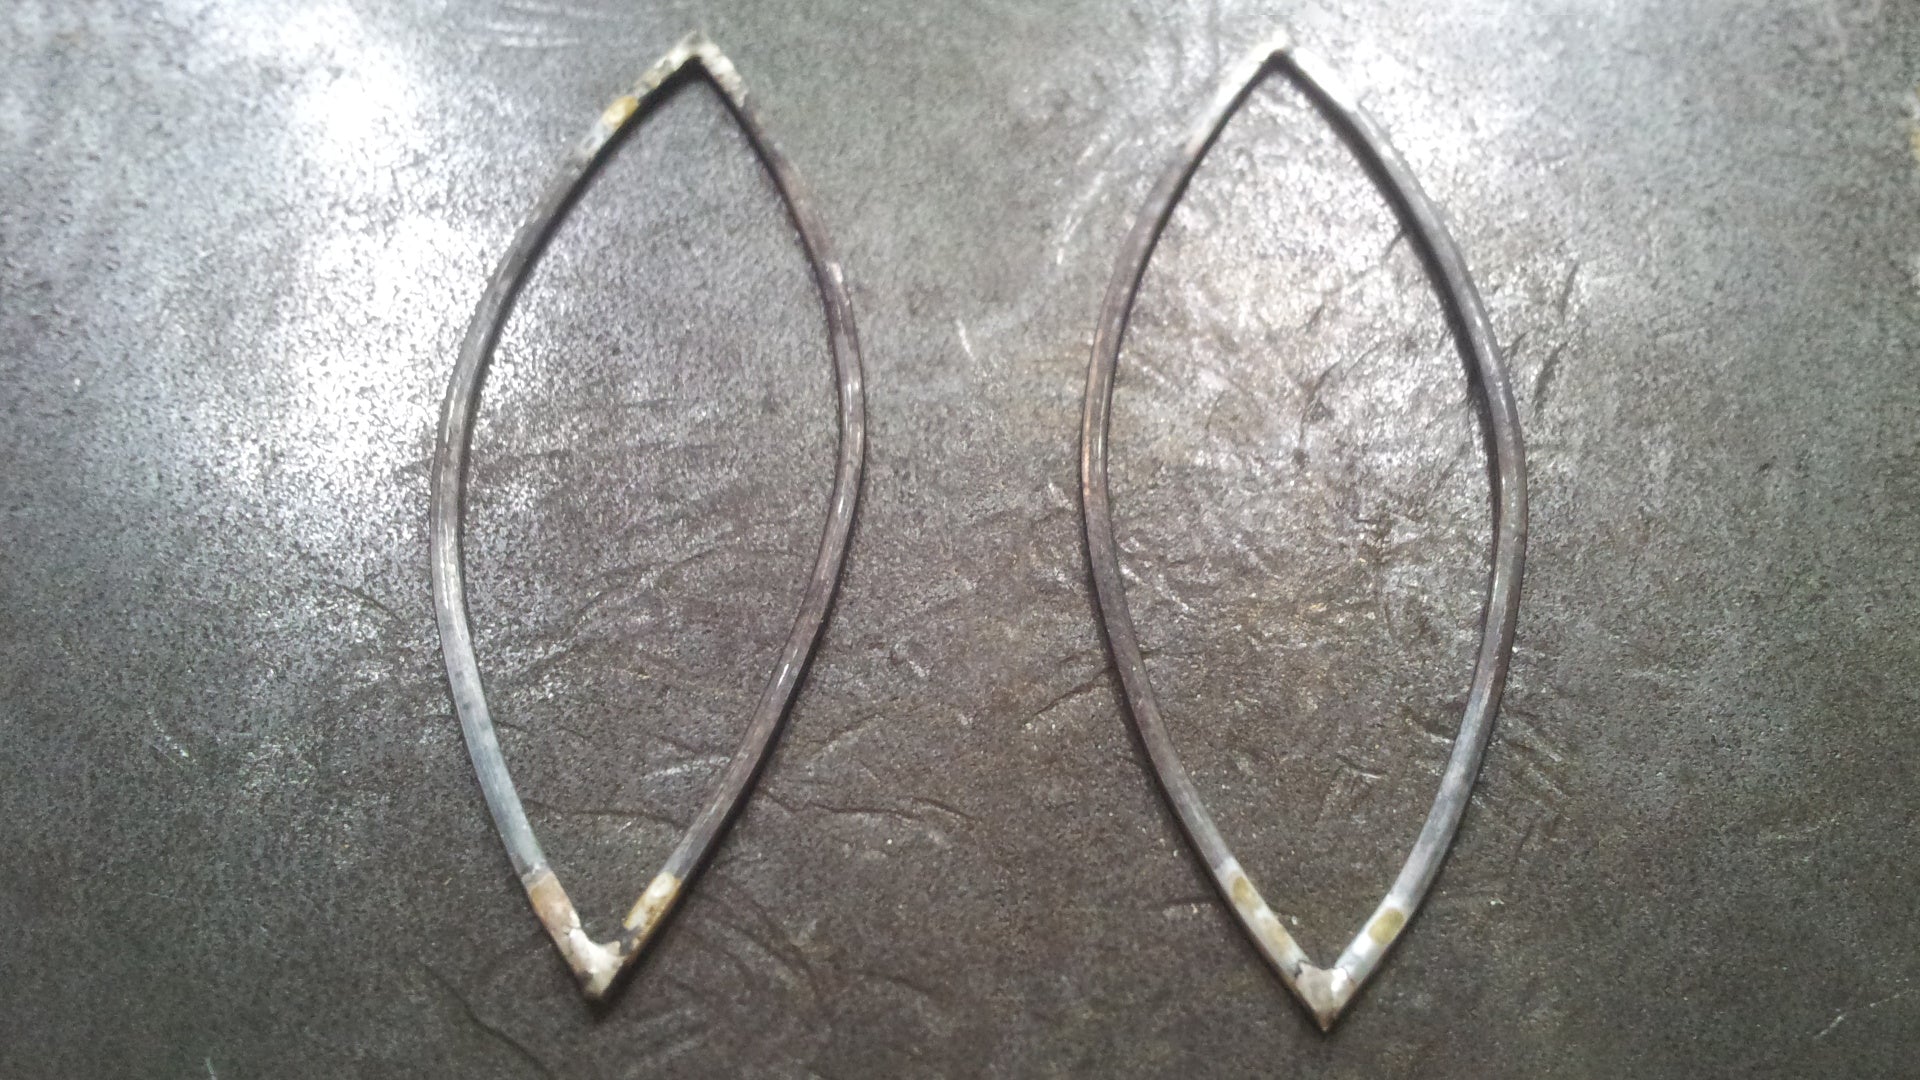
and used the hammers to create the forged finish.
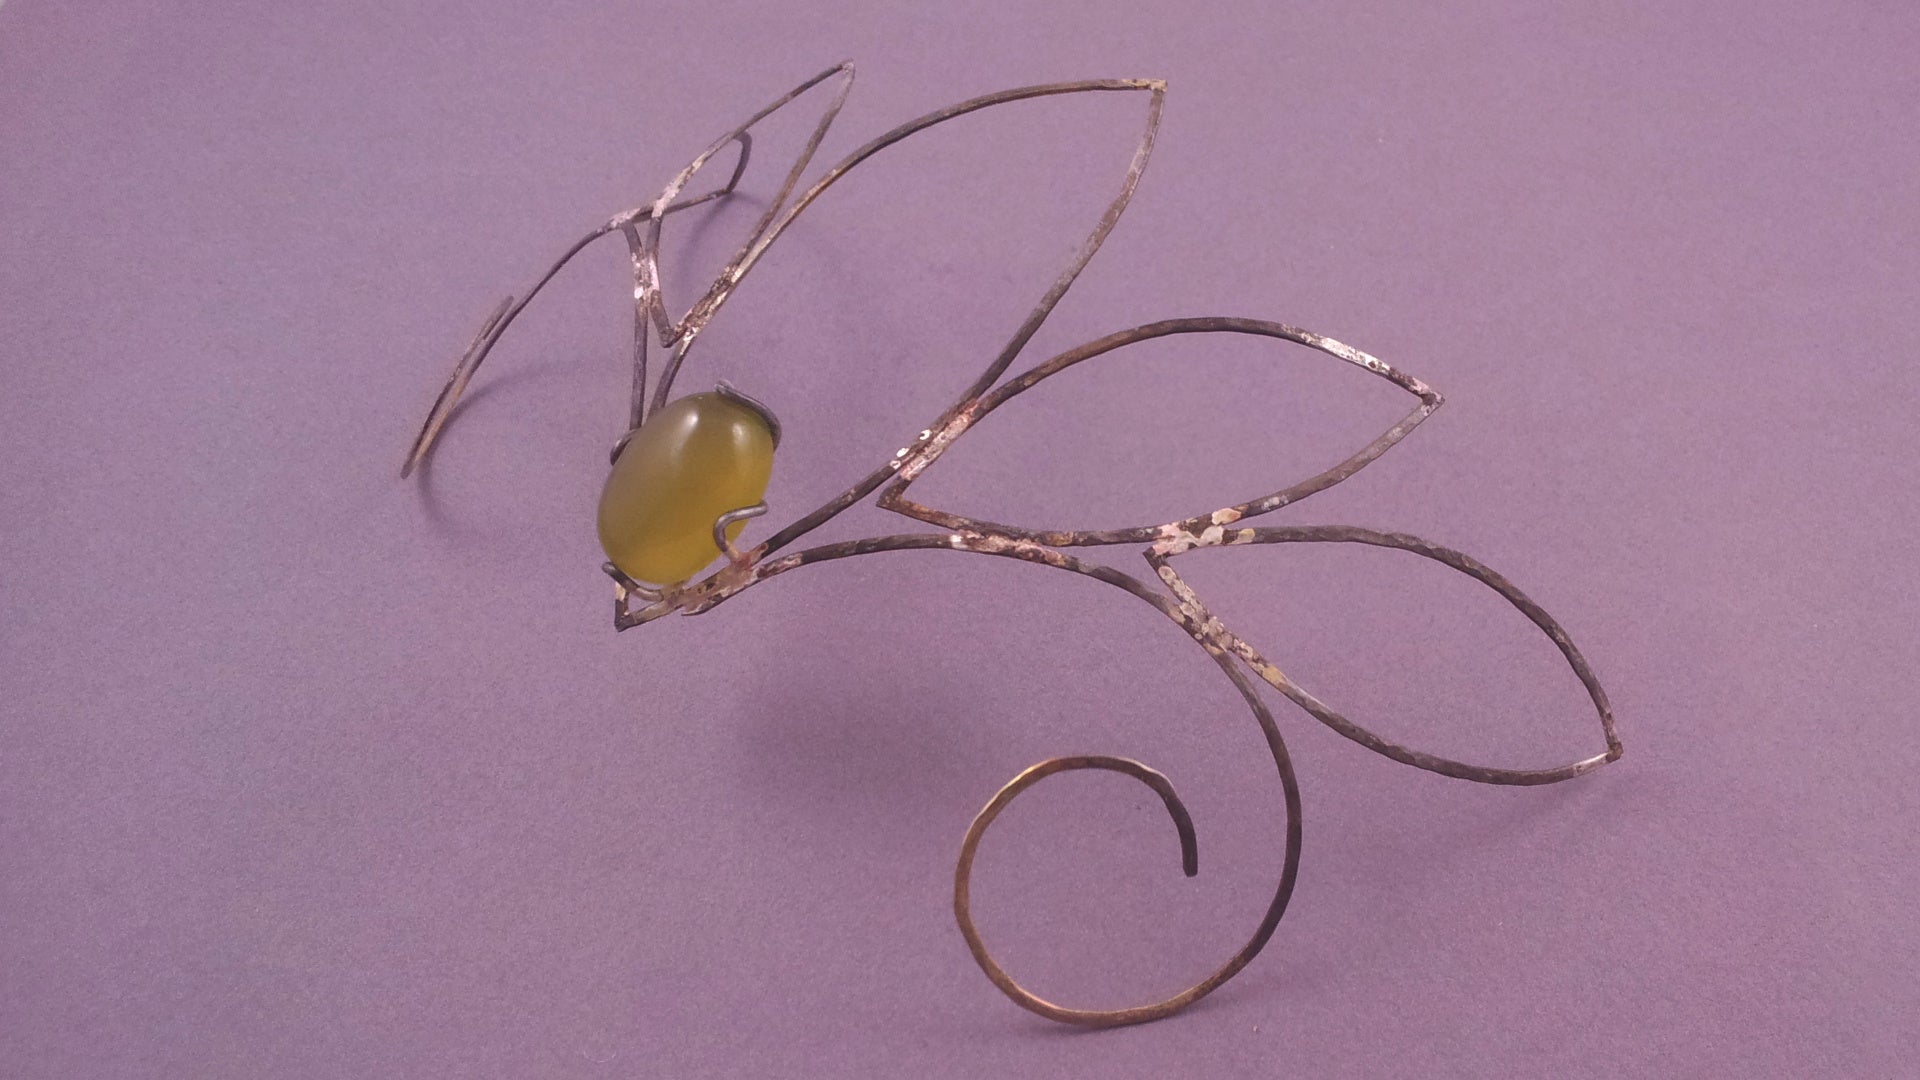
Joining the parts - A beautiful butterfly
Next was the joining of the medium parts to a ready front piece (not yet finished full tiara). This part was fairly easy since I could just lay all the medium parts flat and solder them together and then shape the front piece to its correct shape against a ball anvil.
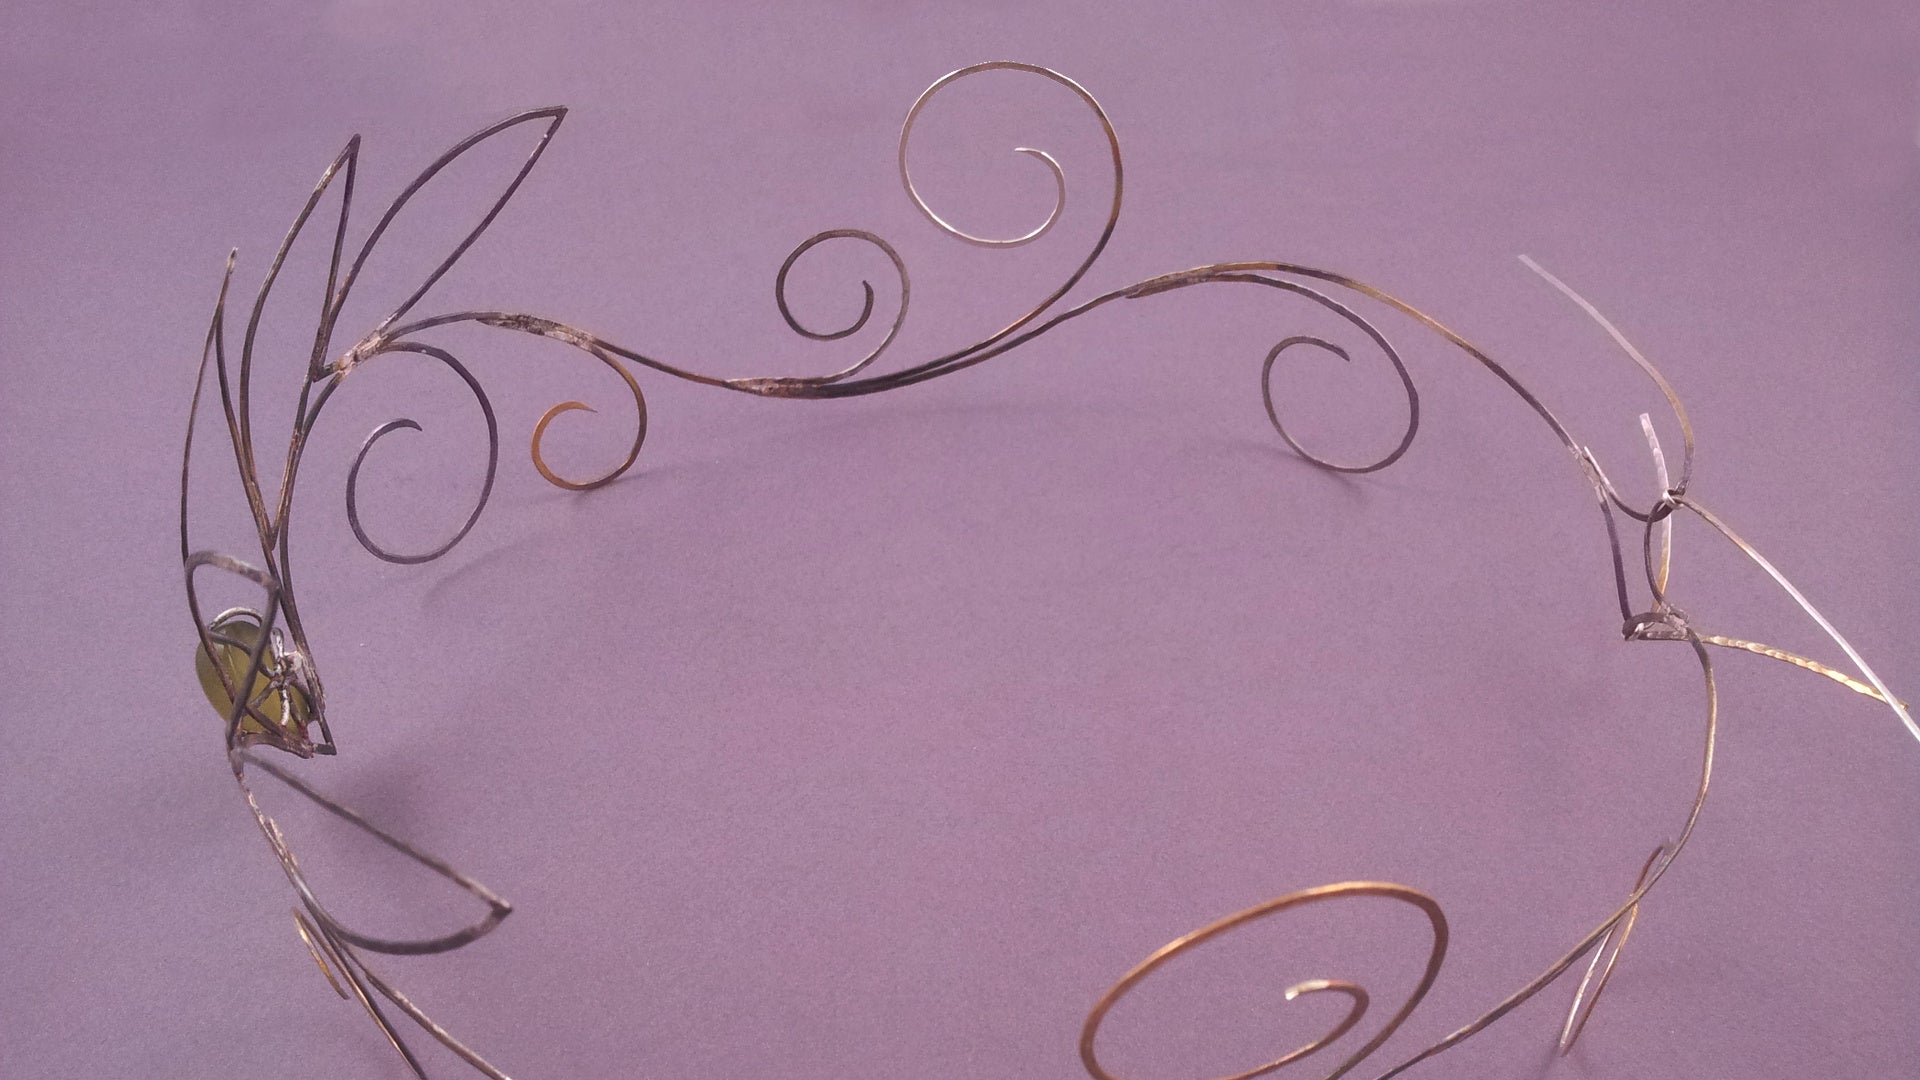
Then I proceeded to join the medium parts of the sides to the front piece. (Again I forgot to take a picture, this time of the large scaffold I built to hold the parts together) At this point I left the back open because we had discussed the option of making a lock for the back and so it could be tested on my customers head for a perfect fit. And of course I test fitted the green agate gemstone on the socket I made for it and fixed any loose prongs.
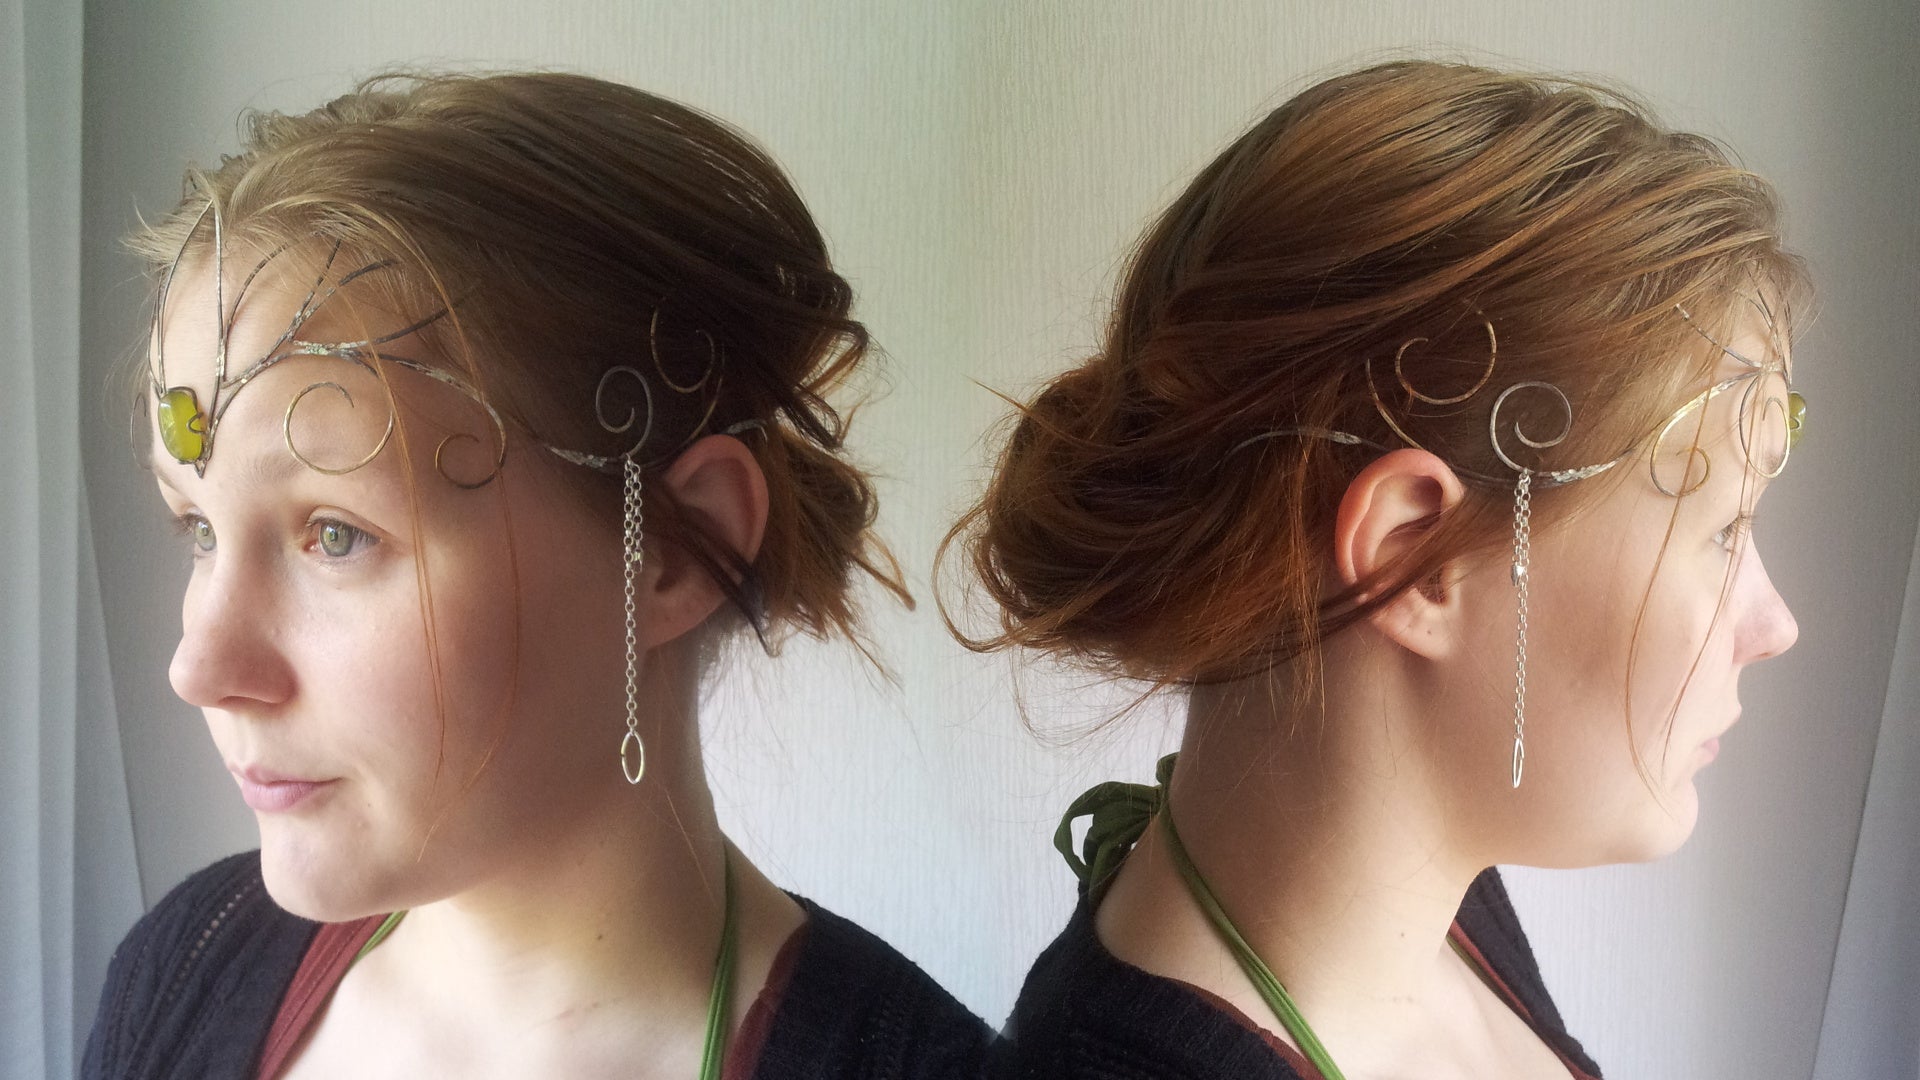
Test fitting - Does it even fit
After much work she finally got to try the tiara on. She quite liked it except we had to make some minor changes to the large curves near her eyes (I made them a quite bit smaller after the fitting). Here are the test fitting results before the last soldering.
Last heat - Heated decision
The last big design decision I made was to close the back permanently instead of making a lock. This decision I made to create more stable creation that fit her head tightly. (Long slender sides of the tiara don't provide a lot of stability when they are allowed to move even a small distance)
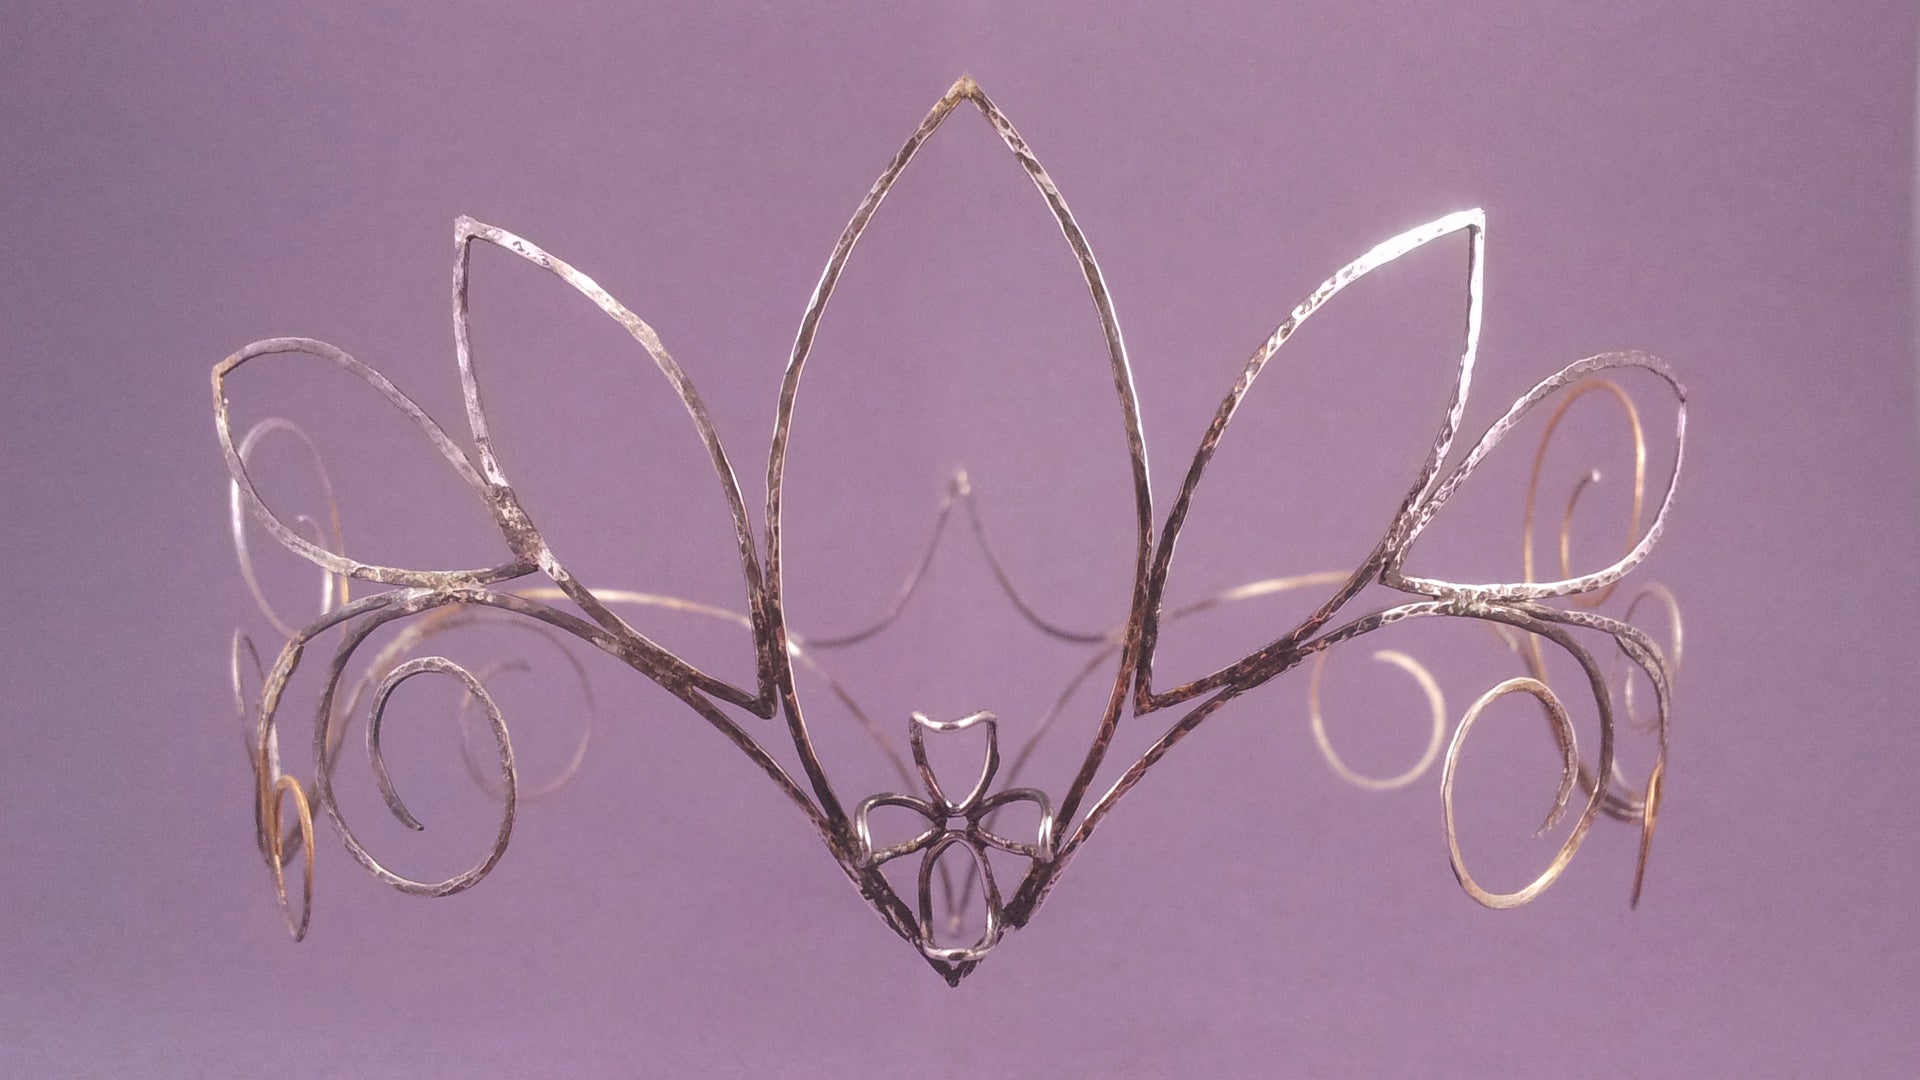
Here is the front view of the ready soldered tiara.
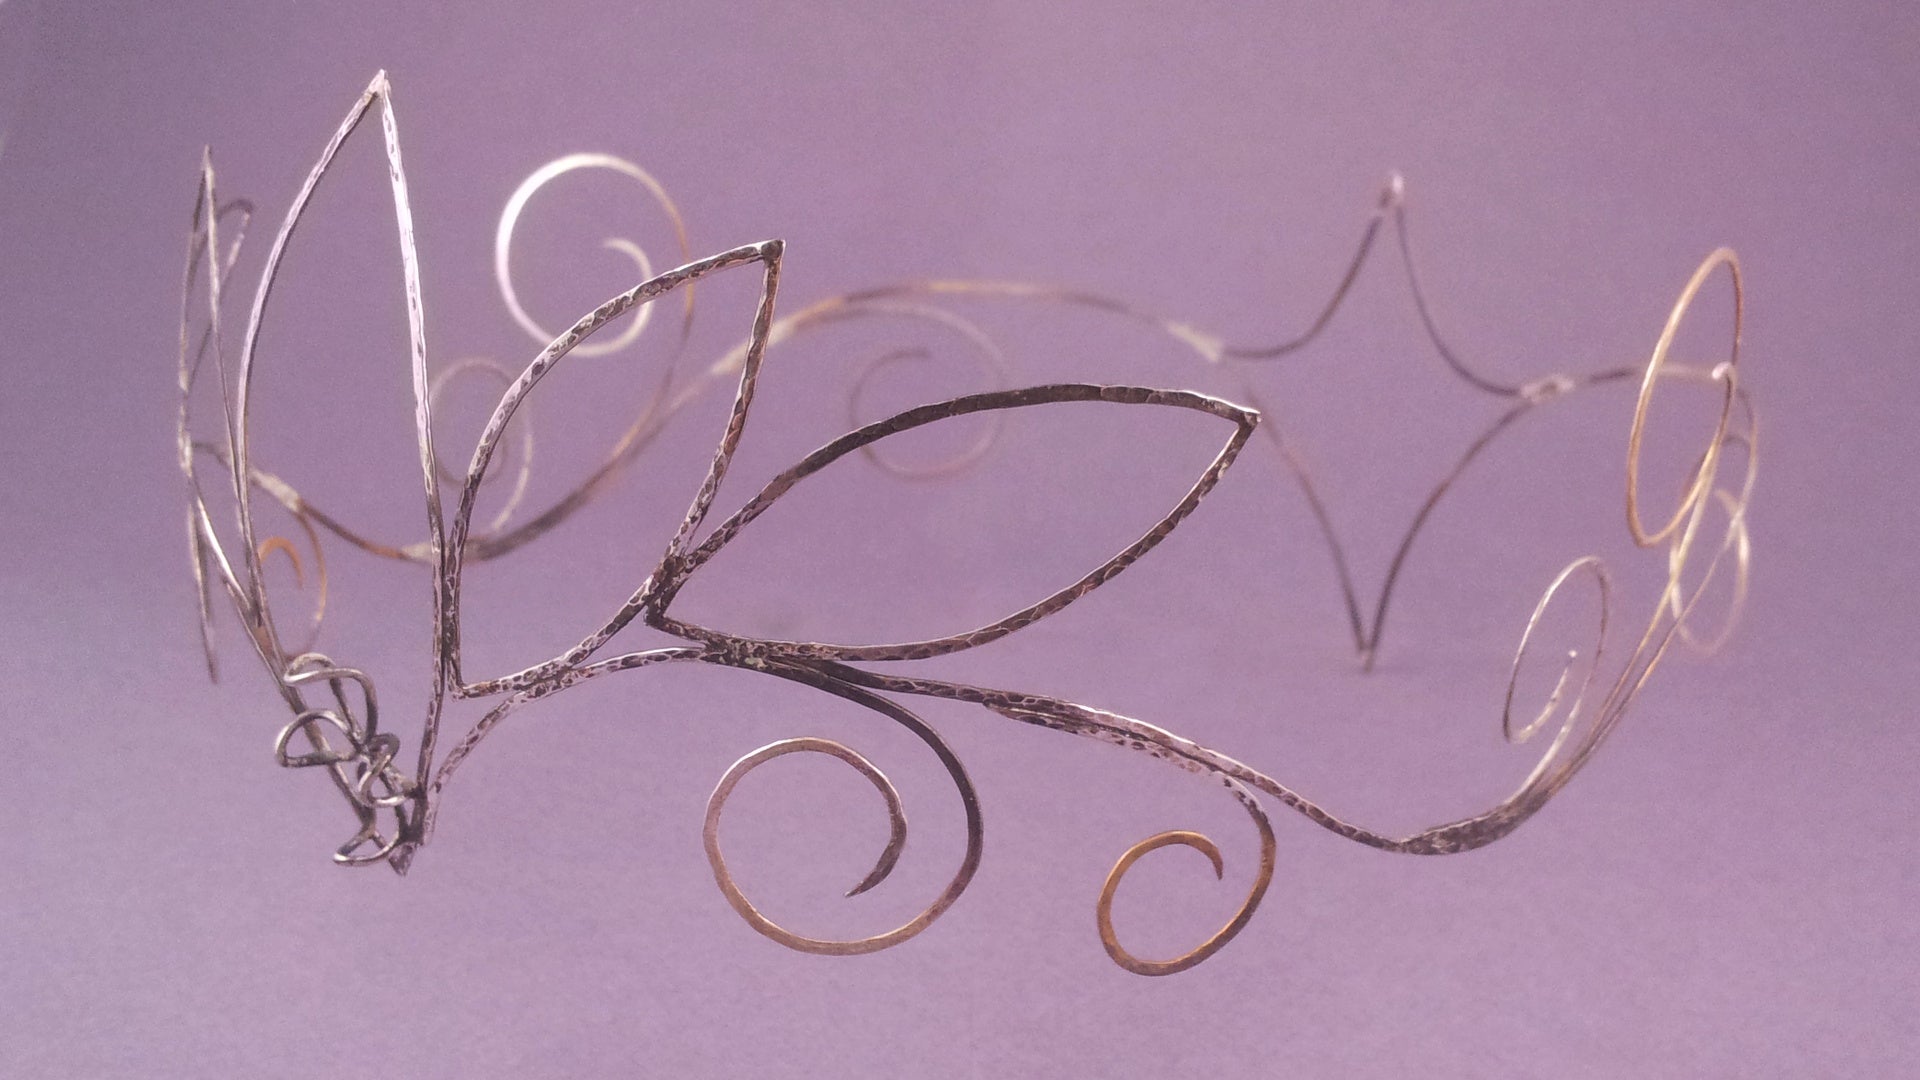
Then a diagonal view of the ready soldered tiara.
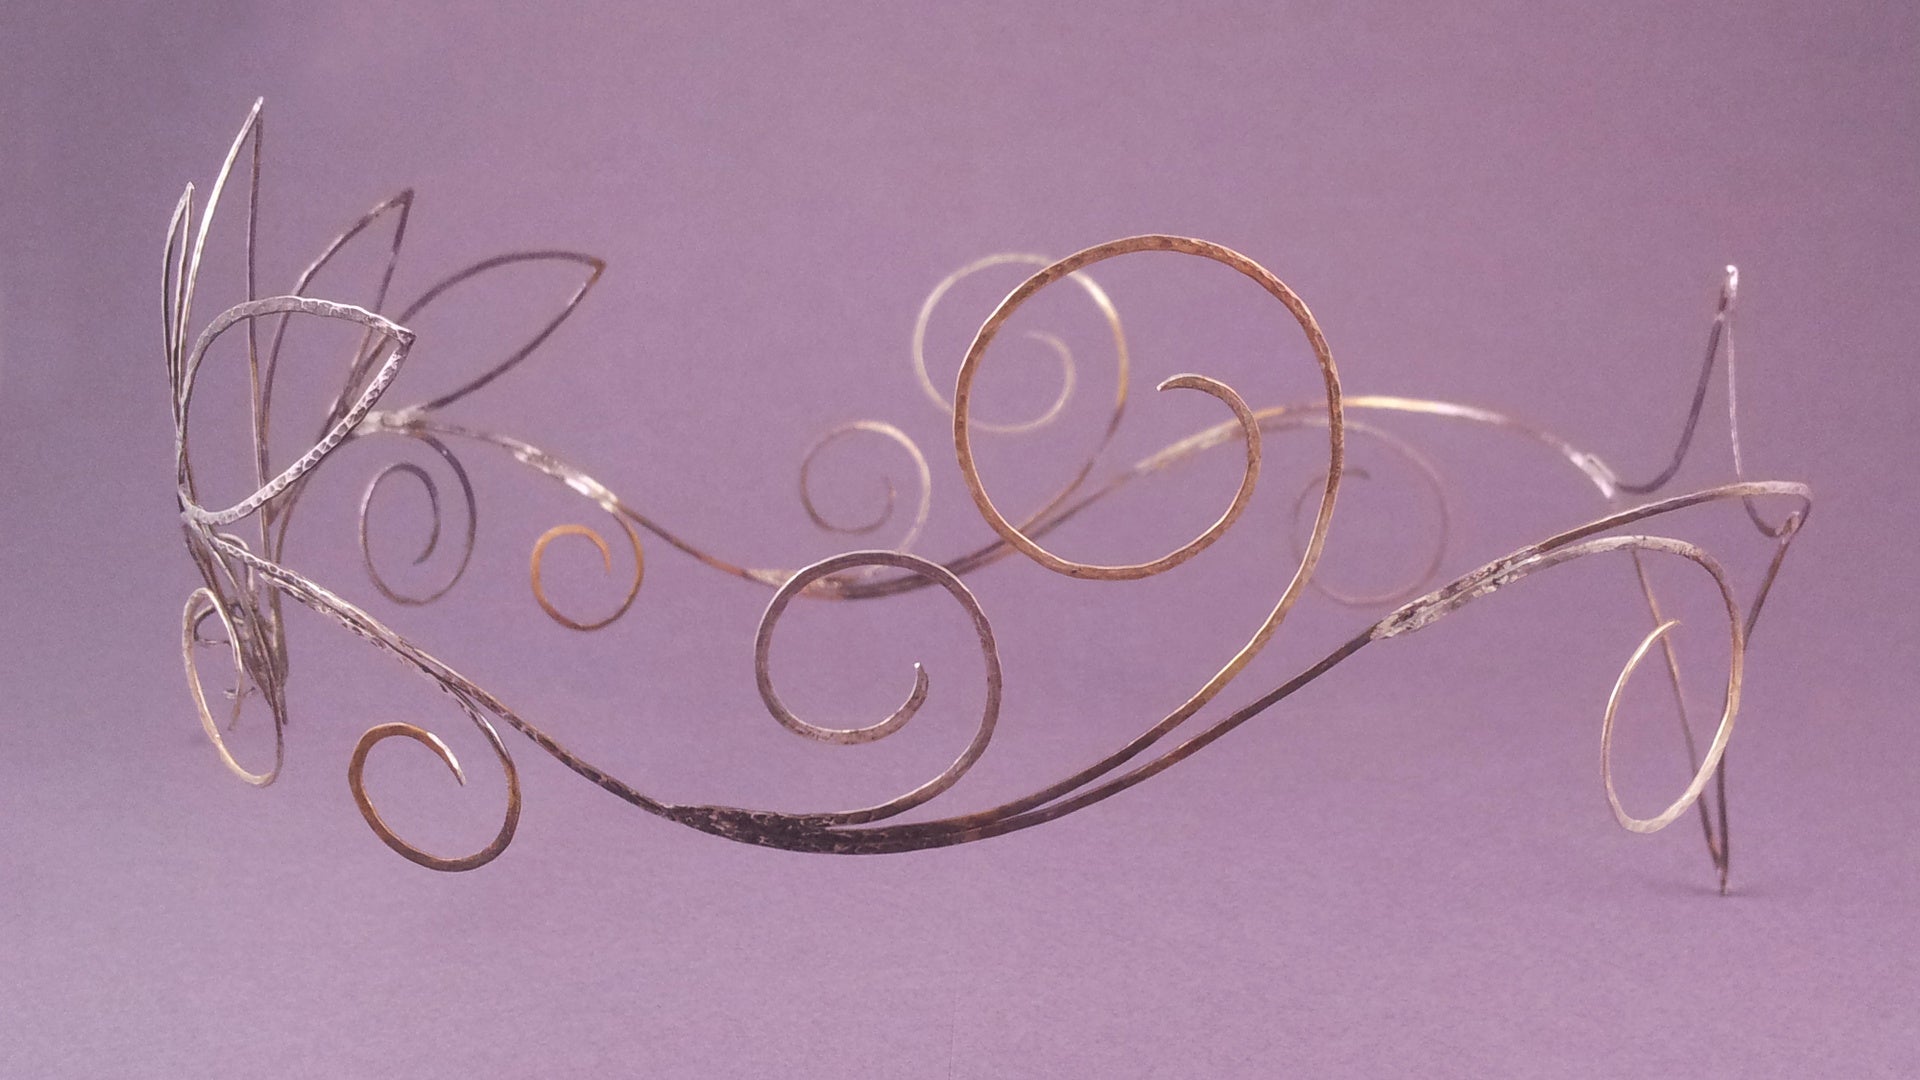
And finally a side view of the ready soldered tiara.
Next to come - Finishing the creation process (Cleaning and polishing)
On my next blog I will write about the finishing of the jewelry creation process: Polishing and how to get (or at least try to get) good pictures of the finalized product.
It's always good to check you have all the information and things you need for doing the jewelry.
- Idea or designs (final ones or at least enough to create raw version of the jewelry piece)
- Measurements (customers)
- Answered questions about design decisions
- Tools and materials
- Recording equipment (currently only camera, later I'm going to do videos about my jewelry creation process)
Idea and designs - The soil
Idea and designs were gone through with the customer and we ended up selecting these designs for the front and side of the tiara.
Here is the final front design of the tiara. Choosing this particular design was straight forward. We had gone through several possibilities and this was the most satisfying and practical as well as the most aesthetic of the designs.

And here is the final side design of the tiara which was the favourite choise of us both. Simple, flowing, beautifull and strong connection to the forests daughter.

Measurements and answers - The hole in the ground
At this point I took measurements and she answered questions about the final design decisions. I basically created templates which to use in the jewelry piece creation process.
Here are all the tiara finishing design patterns side by side. The patterns I made on brass thread which is a bit harder than sterling silver so getting it to look like it would look on silver took a bit of strength.

Here are some closeups on the tiara finishing design patterns from option one to four.

And here are final closeups of the tiara finishing design patterns from option five to eight.

We ended up in selecting the visually pleasing pattern number eight (the last one). It reminded the flow of nature the most.
After selecting the finishing patterns I measured her head and made a band to use as a measuring template when making the tiara. I also made a rough measuring tool for the tiaras front pattern.

Next it was time to piece the front design together from brass so we could see what the size and feel would be like against her forehead.

The materials - The seeds
Here are the materials which will transformed to the final piece. Simple sterling silver thread, silver chain and the green agate are enough for the tiara (after a lot of soldering and shaping may I point out). And a small loop of silver and ready made Harmony - Vesica Piscis Pendant for the ring.

And the tools - The sun and water
The jewelry smiths needs tools to transform the materials into the desired form. Here are some of the tools I use in the creation process. I don't have any pictures (yet) of the imaginative scaffolds I usually create to hold the pieces together while soldering them.
First I took out tools for cutting and bending. Wire cutters to cut sharp edges and several pliers to bend the wire (round or straight)

Then I picked the soldering tools that included my trusty curved soldering tweezers, solder (this time I used paste) and a micro torch.

After which came the tools for creating the requested finish to the tiara. A flat anvil and couple of hammers are enough to create a interesting and forged finish to the jewelry piece.

Finally the tools for removing imperfections and polishing. I use several different large and small files to remove any unwanted materials and excess solder from visible spots. My trusty burnisher is used to create shine to the final jewelry piece.

Next to come - Continuing the creation process (pieces and putting them together)
On my next blog I will write about the creation of jewelry piece parts and putting them together by soldering.


